The “New Domain” Launch Plan: What to Do in the First 21 Days
%201.png)
Launching a new sender domain for cold outreach is one of those things that looks simple, until deliverability tanks, and you realize you’ve accidentally trained inbox providers to distrust you.
The good news: you can build a strong domain reputation fast without gambling your pipeline. You just need a clear 21-day plan that covers setup, warm-up, and sending behavior.
This guide walks you through exactly what to do in the first three weeks so your emails land in the inbox (not spam), your sender signals stay clean, and you can scale safely.
Why the first 21 days matter for domain reputation
Email providers (Gmail, Outlook, Yahoo, etc.) don’t “trust” a new domain by default. They watch early behavior closely:
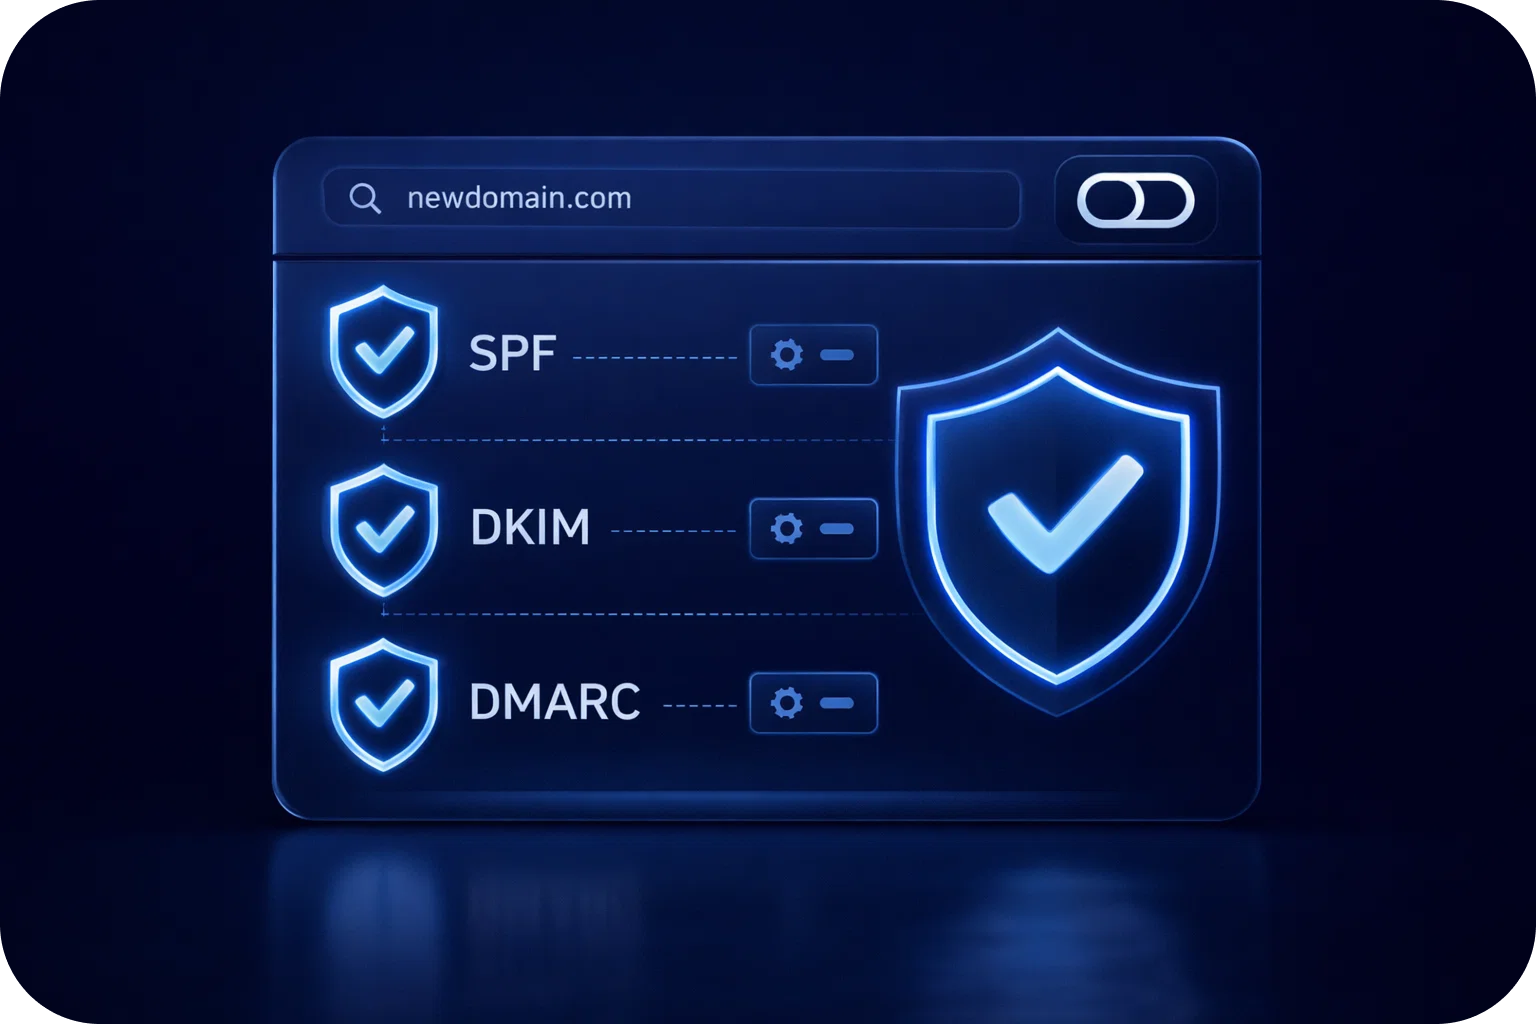
- Authentication signals (SPF, DKIM, DMARC)
- Consistency of sending
- Complaint rates (spam reports)
- Bounce rates and invalid addresses
- Engagement signals (opens, replies, “not spam”)
- Link and content patterns
Your goal in the first 21 days is simple: look like a legitimate sender with predictable volume, clean lists, and human-like engagement.
Before Day 1: pick the right domain strategy
If you’re launching a new domain for outbound, you have two common options:
- Use a secondary domain (recommended)
Example: your company is acme.com → outbound domain is acmehq.com or tryacme.com - Use a subdomain (situational)
Example: mail.acme.com
For most startups and sales teams, a secondary domain is safer because it isolates risk. If anything goes wrong, your primary domain stays protected.
Quick checklist for choosing a sender domain
- Keep it brand-adjacent (recognizable, not spammy)
- Avoid hyphens and weird TLDs if possible
- Make sure the domain has a real website (even a simple one)
- Plan to keep it long-term (domain age helps over time)
Week 1 (Days 1–7): foundation + “quiet” warm-up
Week 1 is about building trust signals with minimal risk. You’re setting up the domain correctly, creating inboxes, and starting warm-up at low volume.
Day 1: Domain setup and DNS essentials
This is non-negotiable. If you skip or misconfigure these, you’re starting with a handicap.
1) Add SPF
SPF tells inbox providers which servers are allowed to send on behalf of your domain.
2) Add DKIM
DKIM signs your messages cryptographically so providers can verify they weren’t altered.
3) Add DMARC (start with monitoring)
DMARC ties SPF + DKIM together and tells providers what to do if authentication fails.
A safe starting DMARC policy for new outbound domains is typically monitoring-only (e.g., p=none) while you validate everything works.
4) Set up custom tracking domain (if you use tracking)If your outreach tool supports it, use a branded tracking domain so links don’t look like generic redirectors.
5) Create a basic website + pages
At minimum:
Homepage (what you do)
About
Contact
Privacy Policy / Terms (optional but helpful)
A “real” web presence supports legitimacy signals.
Day 2: Create inboxes and standardize sender identity
Create 1–3 inboxes per domain to start (don’t rush to 10+).
Best practices:
- Use real names (e.g., peter@, sarah@)
- Add profile photos (Google/Microsoft)
- Add signatures with company name + website
- Keep sending personas consistent
Day 3: Set up warm-up (low volume)
Start warm-up immediately, but keep it gentle.
Guidelines:
- Start at 5–10 warm-up emails/day per inbox
- Warm-up should include replies (two-way threads)
- Rotate content so it doesn’t look templated
Warm-up works best when it simulates real conversations.
Days 4–7: Keep warm-up running + validate deliverability
During the rest of week 1:
- Keep warm-up steady
- Send a few manual emails to coworkers/friends and ask them to reply
- Check spam placement across Gmail/Outlook if you can
- Fix any DNS/authentication issues immediately
Avoid in week 1:
- Cold campaigns to purchased lists
- High-volume sending
- Multiple links per email
- Attachments
Week 2 (Days 8–14): controlled outbound + list hygiene
Week 2 is where you begin outbound carefully, while the warm-up continues in the background.
Day 8: Prepare your first outbound campaign (small + targeted)
Your first campaign should be high intent, highly relevant, and small.
- Pick one tight ICP segment
- Use a clean, verified list
- Personalize more than usual
- Keep copy short and plain-text style
Day 9: Start outbound at low volume
A safe starting point for many teams:
- 5–15 cold emails/day per inbox
- Keep warm-up running alongside the outbound
- Avoid sending bursts (spread sends across business hours)
If you’re managing multiple inboxes, scale across inboxes, not by spiking one inbox.
Day 10: Monitor the “early warning” metrics
In the first few days of outbound, watch:
- Bounce rate (aim for very low; spikes are dangerous)
- Spam complaints (even a few can hurt a new domain)
- Reply rate (a proxy for relevance)
- Positive replies (strong signal)
If the bounce rate is high, stop and fix your data source immediately.
Days 11–12: Tighten content and sending behavior
New domains get punished for patterns that look automated.
Best practices:
- Keep emails under ~120 words
- Use 0–1 links (or none)
- Avoid images and attachments
- Avoid spam-trigger phrasing (e.g., “FREE,” “guaranteed,” “act now”)
- Use a natural send schedule (no midnight blasts)
Days 13–14: Add inboxes (optional) and increase slightly
If week 2 is clean (low bounces, no complaints, decent replies), you can:
- Add 1–2 more inboxes on the same domain
- Increase outbound volume modestly
A conservative ramp could look like:
- Week 2 end: 15–25 outbound emails/day per inbox
Week 3 (Days 15–21): scale safely + protect your sender domain
Week 3 is about scaling while keeping your sender domain healthy.
Day 15: Expand to a second campaign (still controlled)
Instead of doubling volume on one campaign, consider:
- A second segment
- A second offer angle
- A second sender persona
This spreads risk and helps you learn faster.
Day 16: Implement ongoing list hygiene
List hygiene is the fastest way to protect domain reputation.
Minimum standards:
- Verify emails before sending
- Remove risky catch-all domains if you see bounces
- Suppress past bounces permanently
- Suppress complainers and unsubscribes immediately
Days 17–18: Increase volume gradually
If everything is stable, increase outbound volume in small steps.
Example ramp:
- Day 17: +5/day per inbox
- Day 18: +5/day per inbox
Avoid big jumps. Consistency beats speed.
Day 19: Review authentication + domain alignment
Do a quick audit:
- SPF includes the right sending sources
- DKIM is passing
- DMARC reports show alignment
- Tracking domain (if used) is aligned
If you’re using multiple tools (CRM + outreach + helpdesk), make sure they’re not conflicting.
Day 20: Standardize your “safe sending rules”
Write these down and make them team policy:
- Max daily sends per inbox
- Max inboxes per domain
- Warm-up is always on for new inboxes
- No attachments in cold
- One link max (or none)
- Always verify lists
Even one teammate “blasting” can set the whole domain back.
Day 21: Decide your scaling ceiling (and don’t exceed it)
A common mistake is assuming deliverability is “solved” after 21 days. It’s not. It’s maintained.
As a general best practice for cold outreach:
- Keep the daily volume per inbox conservative
- Scale by adding inboxes/domains, not by pushing one inbox too hard
If you’re unsure, err on the side of slower scaling, especially if your pipeline depends on consistent inbox placement.
Common mistakes that kill a new domain reputation
If you want a quick “what not to do” list, here are the usual culprits:
- Sending 100+ emails/day from a brand-new inbox
- Using unverified lists (high bounce rate)
- Overusing links, tracking, or heavy HTML
- Copy-pasting the same template across every lead
- Sending to too many recipients at the same domain (pattern triggers)
- Ignoring spam complaints or unsubscribe signals
Final checklist: your first 21 days, done right
If you want the fastest “did we do everything?” recap:
- Authentication set (SPF, DKIM, DMARC)
- Website + basic legitimacy signals live
- Inboxes set up with real identities
- Warm-up started immediately and remained consistent
- Outbound started small and targeted
- Volume increased gradually (no spikes)
- Lists verified and bounces suppressed
- Copy kept simple (plain text, minimal links)
- Team rules documented to prevent accidents
Ready to launch without risking deliverability?
If you want help setting up domains, inboxes, DNS, and a safe warm-up + scaling plan, book a demo and we’ll walk you through the fastest path to strong deliverability.
More articles


Get started now


